

Appearance
Add Sintel Apps to Your Microsoft 365 Tenant
SharePoint Store › Sintel Apps
This guide is for IT administrators who add Sintel Apps to their organisation's Microsoft 365 tenant. After that, site owners can set it up on their sites. You can also make it available on all sites while you add it (recommended).
Step 1: Open the SharePoint Store
- Go to a SharePoint site.
- Open Site contents from the menu on the left.
- Select Add an app.
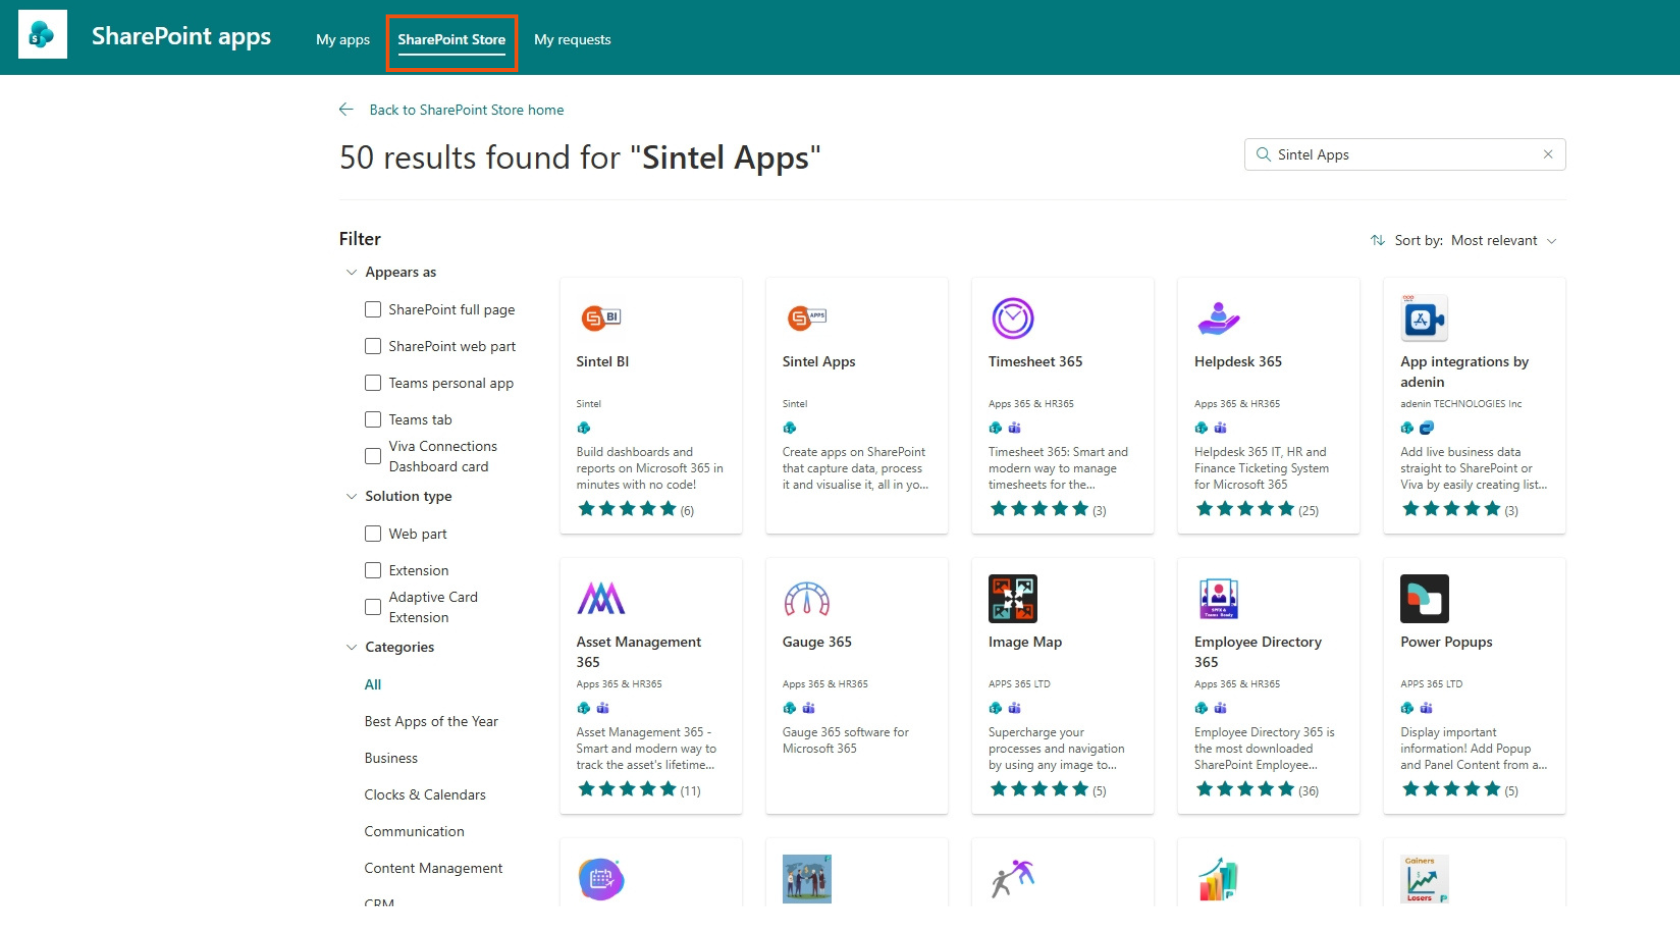
- In the banner at the top, select SharePoint Store.
Step 2: Find and add Sintel Apps
- In the SharePoint Store, search for Sintel Apps.
- Select the Sintel Apps tile.
- Select Add.
Step 3: Choose where the app is available
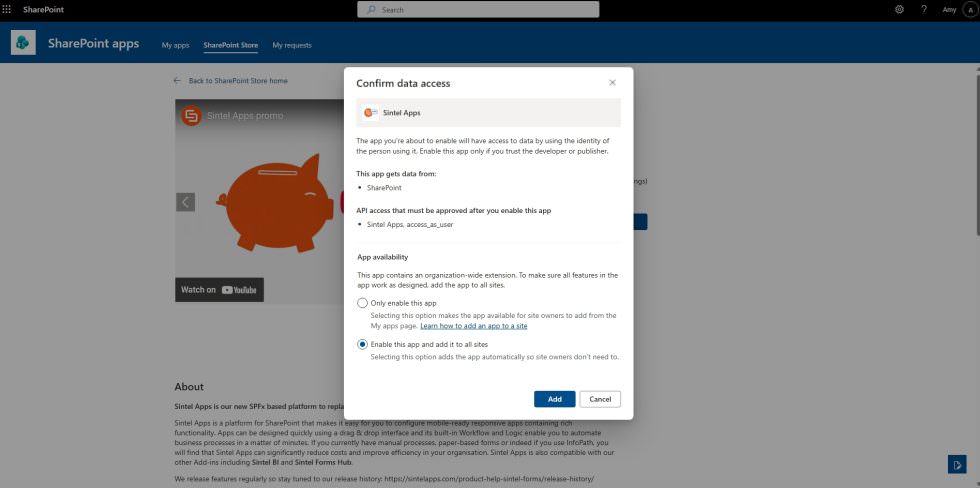
A window asks you to confirm data access. Under App availability, choose Enable this app and add it to all sites, then select Add. Sintel Apps has a feature for all sites, so this is recommended.
Step 4: Approve the API access
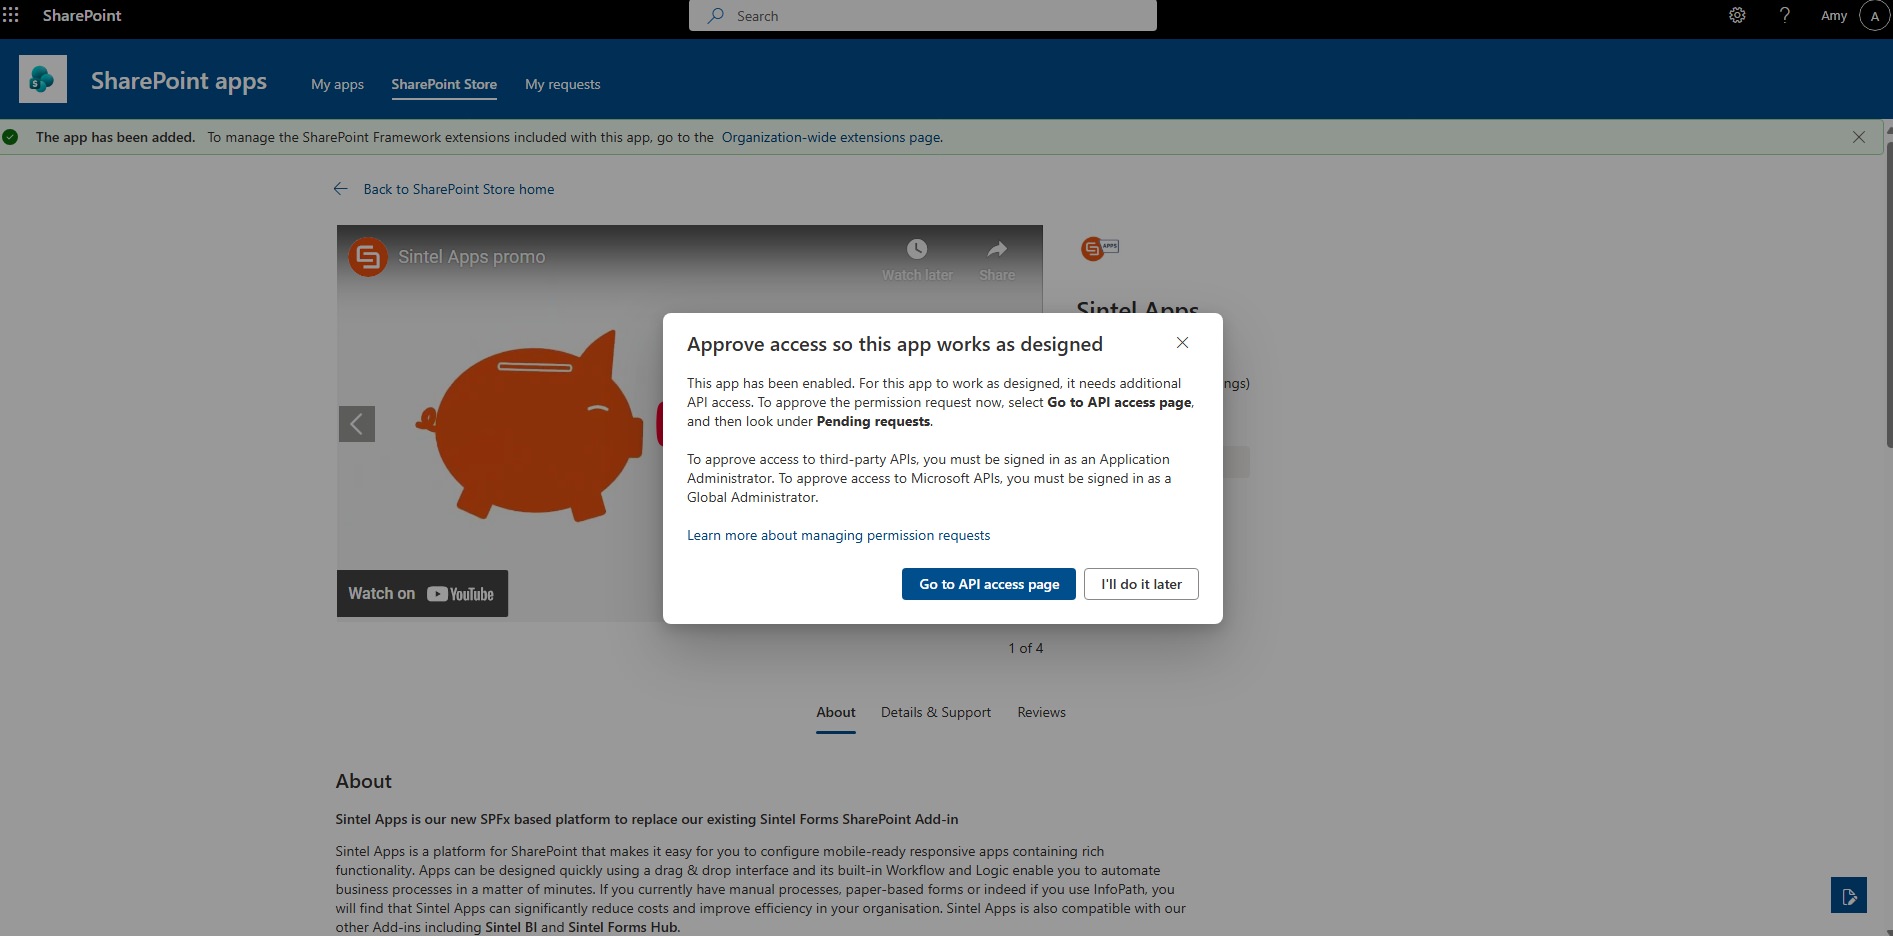
- When asked, select Go to API access page.
- On the API access page, select the pending Sintel Apps request and select Approve.
- In Permissions requested, tick Consent on behalf of your organization and select Accept.
- A second window lists what the app can read, such as groups, memberships and sites. Select Accept again.
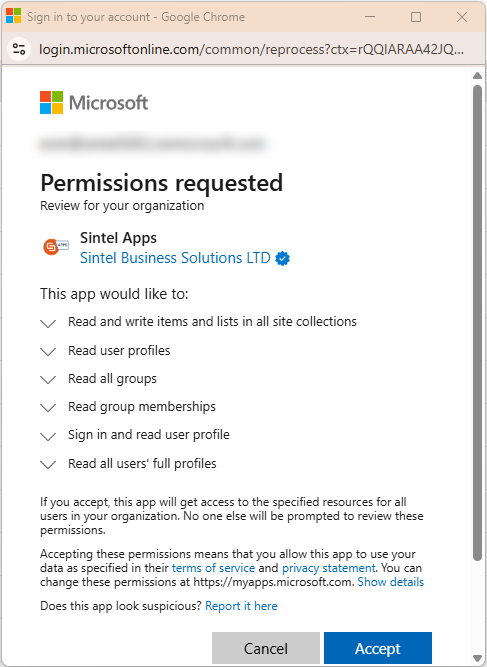
This creates an enterprise application named Sintel Apps in Microsoft Entra ID, with delegated permissions to Microsoft Graph and SharePoint Online. Delegated means the app works with the permissions of the person using it. It can only reach data that person can reach.
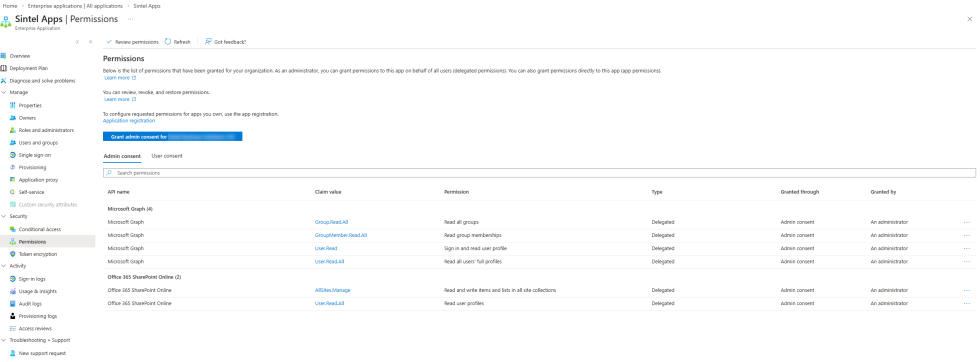
Step 5: Check the confirmation
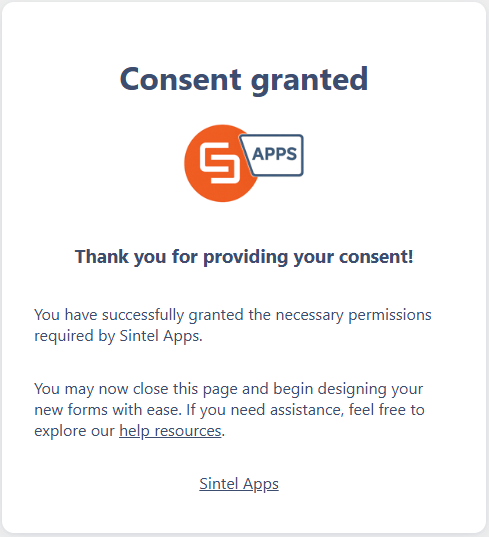
When the consent is given, a page says Consent granted.
On the site's Site contents page, Sintel Apps is now listed.
Step 6: Check App Permissions
Open the Sintel Apps Admin panel at https://app.sintelapps.com/admin and select App Permissions. Sintel Apps under Required should show Consented. The Optional apps are needed only for some features, such as external access or your own mailbox. See Admin Panel and App Permissions.
That's it. Sintel Apps is ready. Next, site owners configure Sintel Apps on a site.
If the permissions don't work
A tenant administrator can:
- Remove any earlier Sintel Apps entry on the API access page:
https://<your-tenant>-admin.sharepoint.com/_layouts/15/online/AdminHome.aspx#/webApiPermissionManagement(replace<your-tenant>with your tenant's name). - Give the permissions again with this link: https://app.sintelapps.com/admin-consent.
See also Failed to query permissions.